How to Make the Best Chilli Jam – Sweet, Spicy & Addictive! 🔥
If you love a sweet and spicy kick to your meals, this homemade Chilli Jam is a must-try! It’s a flavour-packed condiment that pairs beautifully with eggs, burgers, sandwiches, and even fries. This jam has been a favourite in my kitchen for over a decade, and just like my Tomato Relish, it’s an easy recipe that will quickly become a staple in your home. Plus, when stored properly, it lasts for months—though I doubt it will stay in your fridge for that long! 🔥🌶️ If you enjoy making your own preserves, you might also love my Golden Mustard Pickles, a tangy, slightly sweet pickle that’s perfect with ham and sandwiches.

Chilli Jam
Prep Time: 20 minutes
Cook Time: 1 hour
This homemade Chilli Jam is the perfect balance of sweet and spicy, making it an irresistible condiment for toast, eggs, meats, sandwiches, burgers, and more. Made with just a few simple ingredients, it’s easy to prepare and lasts over a year when stored in sterilized jars. A café favourite that elevates any dish!
Ingredients
- 1 kg red capsicums red peppers, chopped into rough pieces (white pith removed)
- 3 cups white sugar
- 3 cups white vinegar or apple cider vinegar
- 2 tbsp Crushed chili adjust to taste, typically a couple of spoonsful
- 3 teaspoons cornflour corn starch
- Cold water for the cornflour slurry
Instructions
- Chop the red capsicums into rough pieces, removing the white pith to avoid bitterness.
- Place the chopped capsicums in a food processor and process until they are well-mulched.
- Transfer the processed capsicums to a large saucepan.
- Add the crushed chili, white sugar, and white vinegar (or apple cider vinegar) to the pot.
- Turn the stove to high heat and bring the mixture to a boil, stirring occasionally to dissolve the sugar without burning.
- Once boiling, reduce the heat to low and let it simmer gently for about 30-40 minutes, stirring occasionally. The mixture should reduce by half and turn a deep red colour.
- Thicken the Jam:
- In a small bowl, create a slurry by mixing the cornflour with a little cold water until dissolved.
- Slowly add the cornflour slurry to the simmering chili jam, stirring continuously.
- Bring it back to a boil and let it cook for an additional couple of minutes until thickened. Note that the jam will continue to thicken as it cools.
- Once cooked, allow the jam to cool before transferring it to sterilized jars. The jam can last for over a year in the pantry if properly sealed.
- Serving Suggestions:
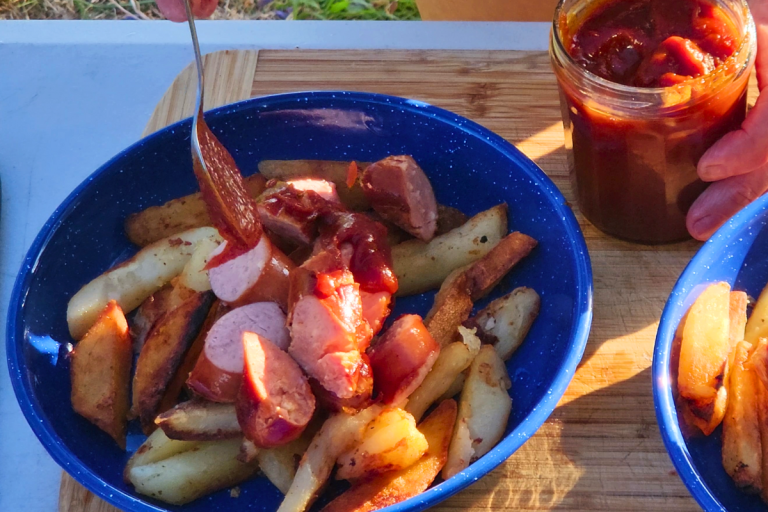
- Use the chili jam as a topping for avocado on toast, eggs, sour cream, sandwiches, mayonnaise, burgers, savoury muffins, or alongside meats and fries.
Video
Notes
✔ Adjust the Heat Level – The amount of crushed chilli can be adjusted to your preferred spice level. Start with less and add more if needed. ✔ Thickening the Jam – A small amount of cornflour slurry is added at the end to thicken the jam. It will continue to thicken as it cools. ✔ Sterilizing Jars for Longer Shelf Life – If properly sterilized and sealed, this chilli jam can be stored for over a year in a cool, dark place. Once opened, refrigerate for long-lasting freshness. ✔ Serving Suggestions – This chilli jam is incredible on avocado toast, with savoury muffins, burgers, meats, and cheese platters. Try it with sour cream for a creamy, spicy dip!