
The Best Flourless Chocolate Cake – Rich, Easy & So Indulgent!
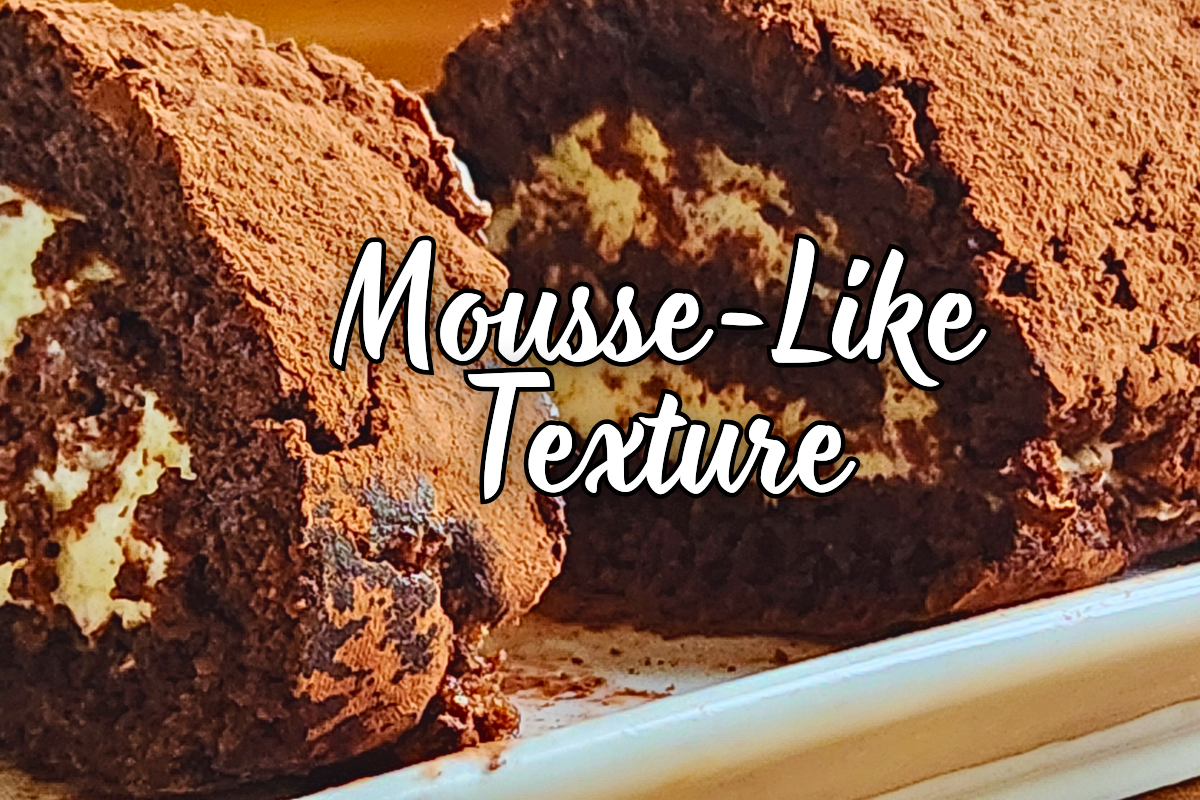
This Flourless Chocolate Cake is rich, naturally gluten-free, and incredibly easy to make! With a texture that’s almost like chocolate mousse but baked to perfection, it’s a chocolate lover’s dream. If you love naturally gluten-free desserts, be sure to check out my Hazelnut Torte—a decadent, nutty treat layered with Nutella, whipped cream, and fresh strawberries, perfect with coffee or tea!
The Best Flourless Chocolate Cake – Rich, Easy & So Indulgent!
Prep Time: 20 minutes
Cook Time: 17 minutes
Chill Time: 2 hours
Servings: 6
This Flourless Chocolate Cake is rich, indulgent, and incredibly easy to make! With a texture that’s light like mousse but baked to perfection, it’s the ultimate gluten-free chocolate dessert. Whether you’re celebrating a special occasion or just craving something chocolatey, this recipe is guaranteed to impress!
Ingredients
Main Ingredients
- 120 g 4oz dark chocolate (your favorite kind)
- 2 tbsp cold water
- 4 large eggs separated
- 1 cup caster sugar
For Whipped Cream Filling
- ¾ cup 180ml thickened cream
- 1-2 tbsp icing sugar
- ½ tsp vanilla essence
For Dusting & Assembly
- Cocoa powder for dusting
Instructions
Prepare the Tin
- Grease and line a 10.5 x 12-inch rectangular tin with baking paper. Set aside.
Melt the Chocolate
- Place the chocolate and 2 tablespoons of cold water into a small bowl. Microwave on 50% power for 20-second intervals until the water is heated and the chocolate begins to melt. Stir the mixture until fully melted and thickened. Alternatively, melt the chocolate and water in a small saucepan over low heat, stirring continuously. Set aside to cool.
Beat Egg Yolks & Sugar
- Separate the eggs. In a large bowl, beat the egg yolks with the castor sugar until pale and fluffy (this will take about 2-3 minutes).
Mix the Chocolate
- Once the chocolate mixture has cooled slightly, gently fold it into the egg yolk mixture.
Beat the Egg Whites
- With clean, dry beaters, beat the egg whites until soft peaks form. Be careful not to over beat.
- Gently fold the egg whites into the chocolate mixture using a spatula, ensuring everything is evenly combined.
Bake the Cake
- Pour the batter into the prepared tin, spreading it evenly. Bake in a preheated oven at 180°C (350°F) conventional, no fan, for about 17 minutes, or until just set.
- Once the cake is baked, cover it with two layers of damp (wrung out) paper towels and one layer of dry paper towel. Refrigerate for 20 minutes.
Make the Whipped Cream
- While the cake cools, whip the cream until thick. Add icing sugar and vanilla essence and whip for a few more seconds until combined.
Finish the Cake
- After 20 minutes, carefully peel off the paper towels from the cake. Dust the top of the cake with 1 tablespoon of sifted cocoa powder.
- On another sheet of baking paper, sift more cocoa powder. Tip the cake onto the prepared sheet of paper, then gently peel off the lining paper.
Assemble the Roll
- Spread the whipped cream evenly over the cake. Using the baking paper to help, carefully roll the cake. Don’t worry if it cracks—this is normal and will come together once chilled. Twist the ends of the baking paper, cover the cake with plastic wrap, and refrigerate for 1–2 hours or overnight.
Serve
- When ready to serve, unwrap the cake, place it on a serving plate, and dust with more cocoa powder. Slice and enjoy!
- The cake will keep in the fridge for up to 5 days.
Video
Notes
- This cake is naturally gluten-free and has a mousse-like texture.
- Chilling before slicing helps it set for the perfect shape.
- Best served cold with extra cocoa powder or fresh berries.




Just wow, i am speechless. This is incredibly delicious & easy to make. I’ll be making this a lot in our upcoming summer. It is very easy to eat the whole thing!
Oh wonderful, I’m so happy you enjoy this one too. One of my daughters lives in New Zealand, and after watching the video, she now makes it quite often too. Thank you so much for letting me know. ☺